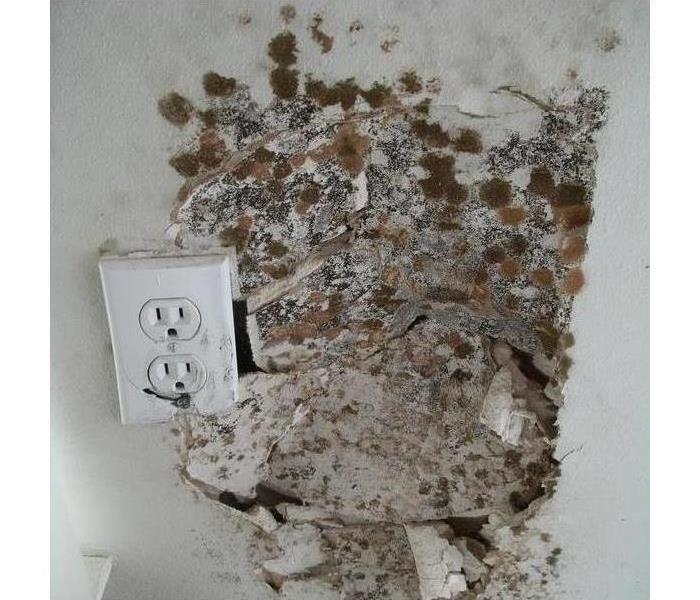
Our Mold Remediations Step by Step
2/17/2022 (Permalink)
Dealing with mold is not an easy task. Especially for a homeowner that has never dealt with mold before. If you have noticed water damage do not wait till it is too late. Water damage can lead to mold growth and if you leave your home untreated your insurance can decline your claim due to long-term mold.
Step 1: It is important to first find the cause of the mold and fix any leaks that could have caused fungus to grow.
Step 2: Set up containment in order to close the area that will be worked on from the rest of the space.
Step 3: Demo out any drywall that has mold on it or is directly in front of the framing that has mold.
Step 4: Wipe down the affected area with anti-microbial. Wiping the area down can collect a lot of the mold spores and get it prepared for the grinding. This also reduces the number of mold spores that become airborne during the grinding step.
Step 5: Dry out the affected area. This is the most important step by far! If the affected area still contains moisture, mold can grow back.
Step 6: Grind down the affected materials in order to best reduce the number of mold spores on the material.
Step 7: HEPA vacuum any debris that had been caused during the mold remediation. Final wipe down of the affected materials and containment to ensure that the chamber is ready for a post-mold clearance test if requested by the homeowner.


 24/7 Emergency Service
